Frequently Asked Question
6. Add ITVDesk to your VMS/NVR as an ONVIF camera
Last Updated 3 months ago
After ITVDesk is installed, activated, and configured with a video source, first verify the stream directly inside ITVDesk. After the internal test is successful, add ITVDesk to your VMS/NVR as a virtual ONVIF IP camera.
1. Confirm ITVDesk is running
- Start ITVDesk on the computer that will act as the virtual IP camera.
- Confirm that the selected source is active and the stream is running.
- Check the computer IP address and the network interface used by ITVDesk.
2. Use Preview & Test before adding ITVDesk to a VMS/NVR
ITVDesk includes built-in test tools for checking whether the virtual IP camera is ready for a recorder or VMS system.
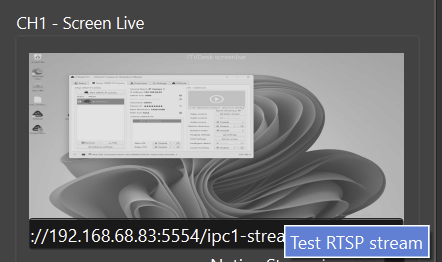
- Open the ITVDesk front application and use Preview & Test.
- Check the ONVIF and RTSP service indicators.
- Use Test Stream to verify that ITVDesk can serve the video stream locally.
- Use Network Camera Test (NVR Readiness) to verify port access, bind IP, authentication, and stream profile readiness.
- If the internal test fails, fix ITVDesk source, service, firewall, or port configuration before adding the device to a VMS/NVR.
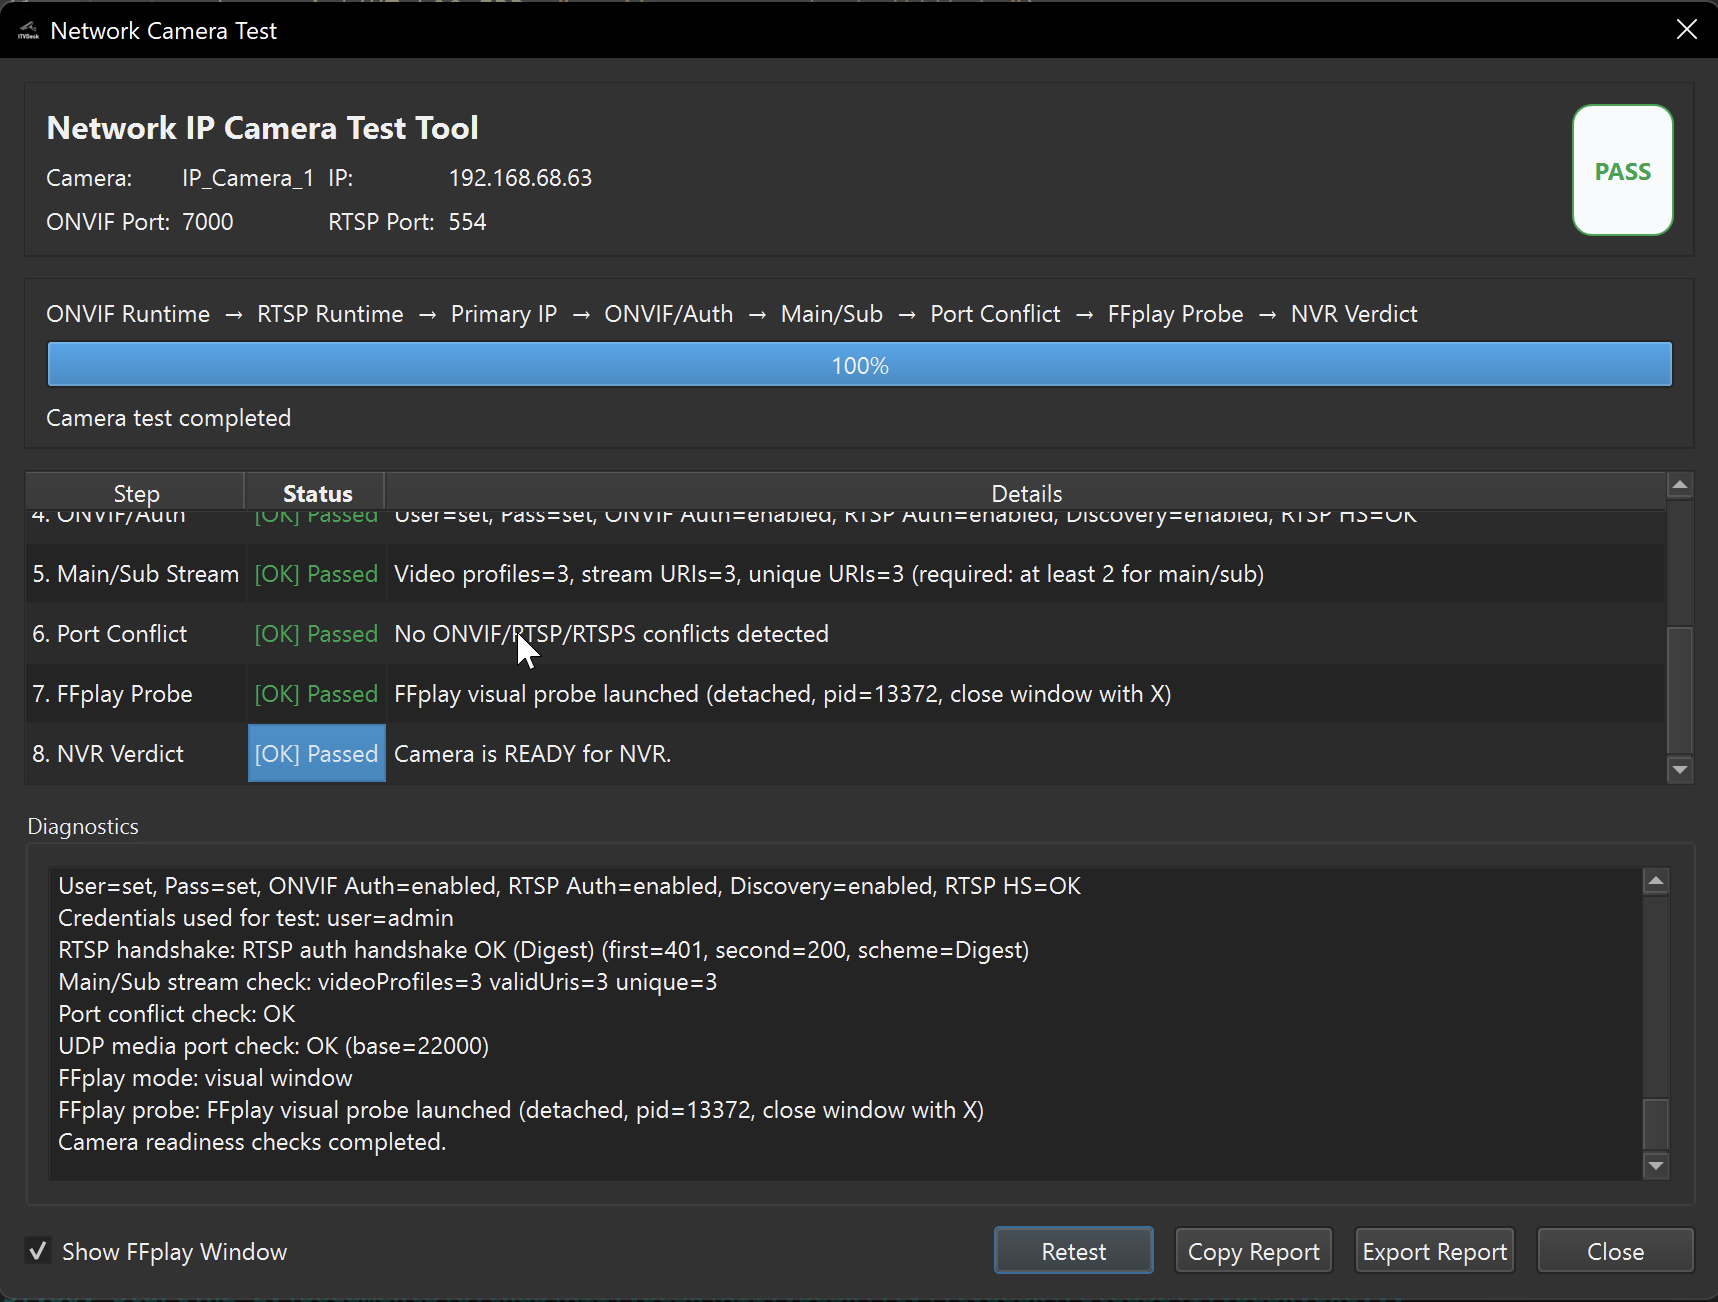
Detailed documentation: Preview & Test and Network Camera Test (NVR Readiness).
3. Check ONVIF and stream settings
- Verify that ONVIF service is enabled.
- Check the ONVIF HTTP/HTTPS port configured in ITVDesk.
- Check RTSP/RTSPS/SRT stream settings if your VMS/NVR will use direct stream URLs.
- Confirm username/password if authentication is enabled.
- Allow the required ports in Windows Firewall, Linux firewall, macOS firewall, or network security equipment.
4. Add the device in your VMS/NVR
- Use ONVIF discovery if your VMS/NVR supports automatic discovery.
- If discovery does not find ITVDesk, add it manually using the ITVDesk computer IP address, ONVIF port, and credentials.
- Select ONVIF or a compatible generic camera profile when required.
- For systems that prefer direct streams, use the RTSP/RTSPS/SRT URL generated by ITVDesk.
5. Test live view and recording in the VMS/NVR
- Open live view in the VMS/NVR.
- Verify video resolution, frame rate, codec, audio, and stream stability.
- Start recording and confirm playback works as expected.
- Test PTZ desktop interaction, two-way audio, OSD/subtitles, events, or secure transport if those features are required.
6. If discovery or video does not work
- First run ITVDesk Preview & Test and Network Camera Test.
- Confirm ITVDesk and the VMS/NVR are on reachable network segments.
- Check local firewall rules and port conflicts.
- Verify ONVIF credentials and authentication mode.
- Try manual add using the ITVDesk IP address and ONVIF port.
- Check codec support in the VMS/NVR and lower resolution/frame rate for testing.
Useful troubleshooting articles: