Frequently Asked Question
Milestone Systems - Integrating ITVDesk with Milestone XProtect VMS
Last Updated 3 months ago
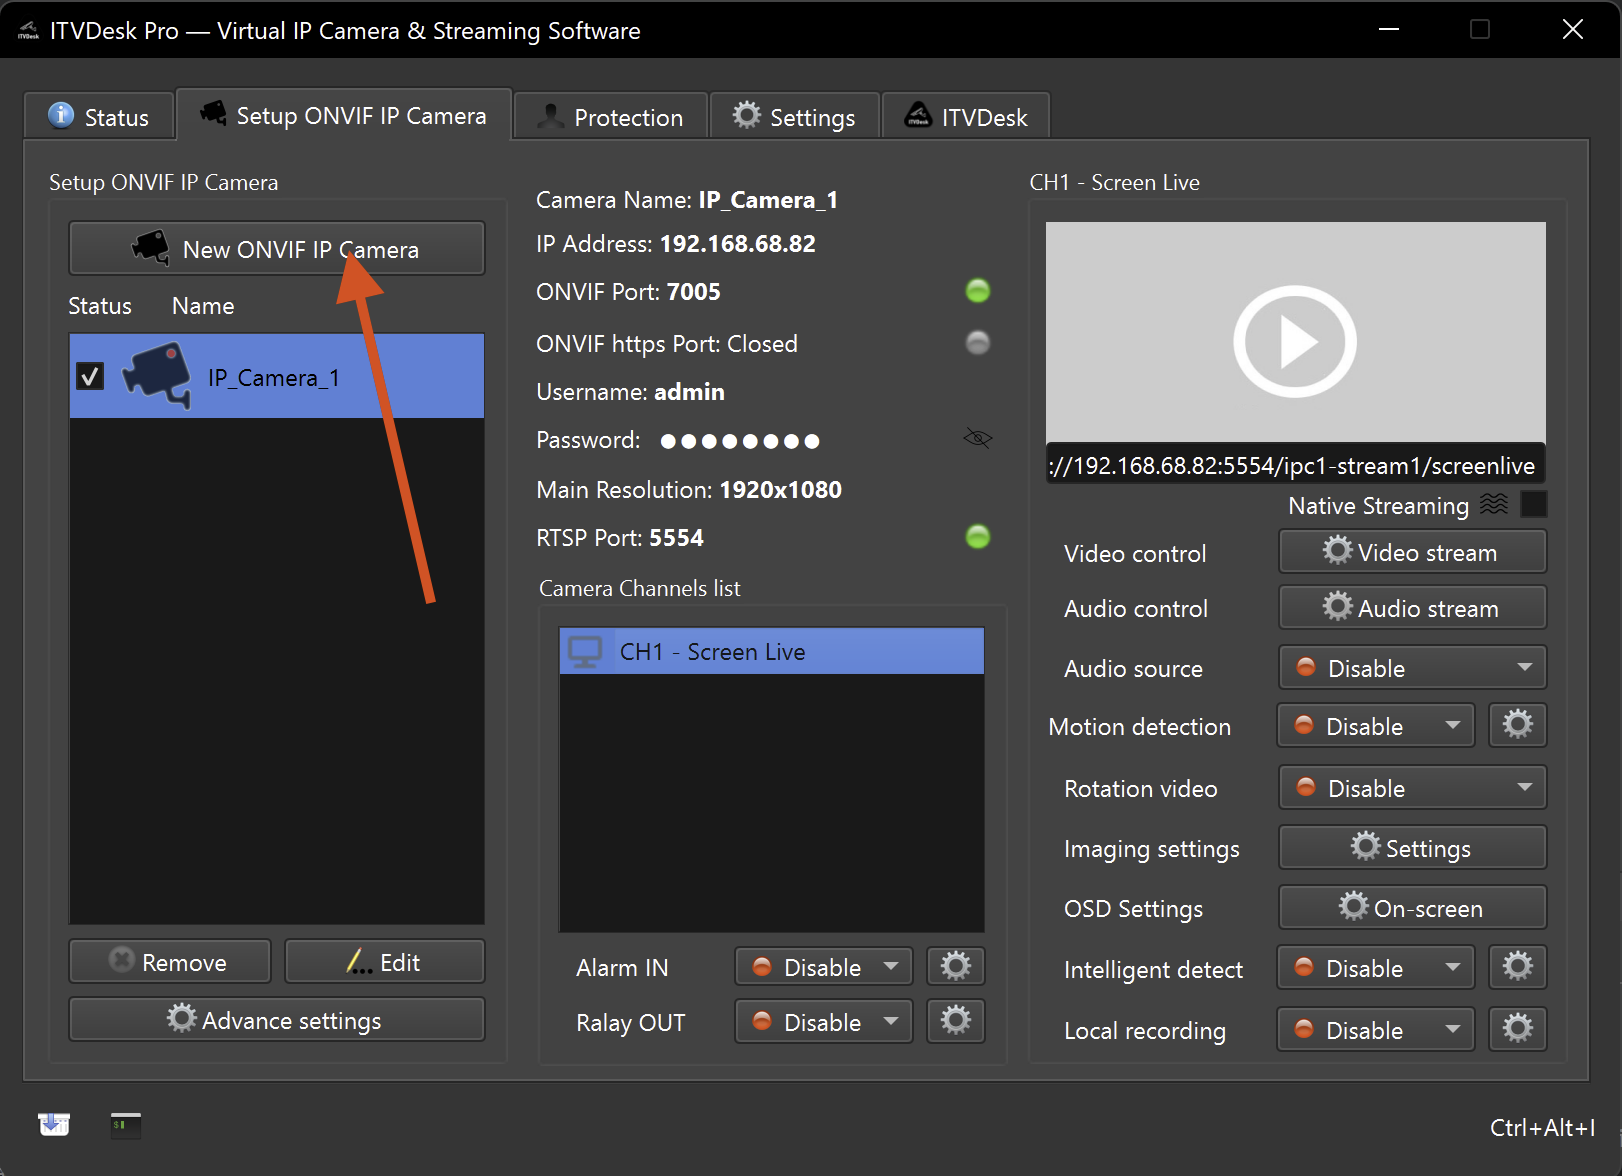
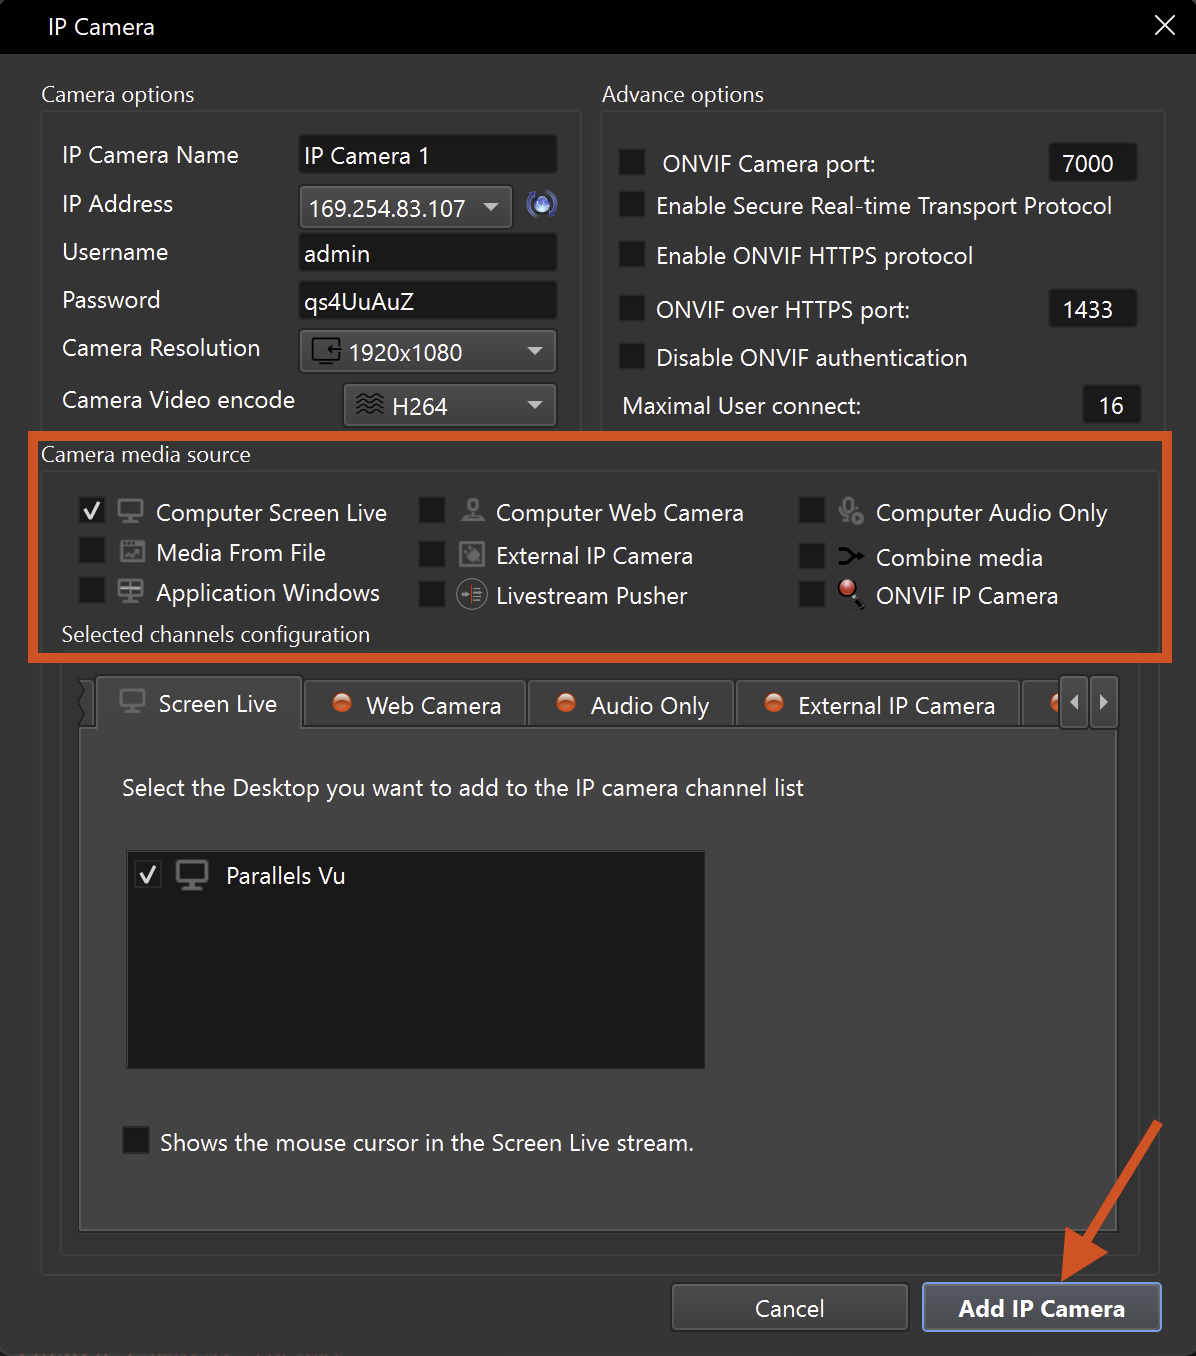
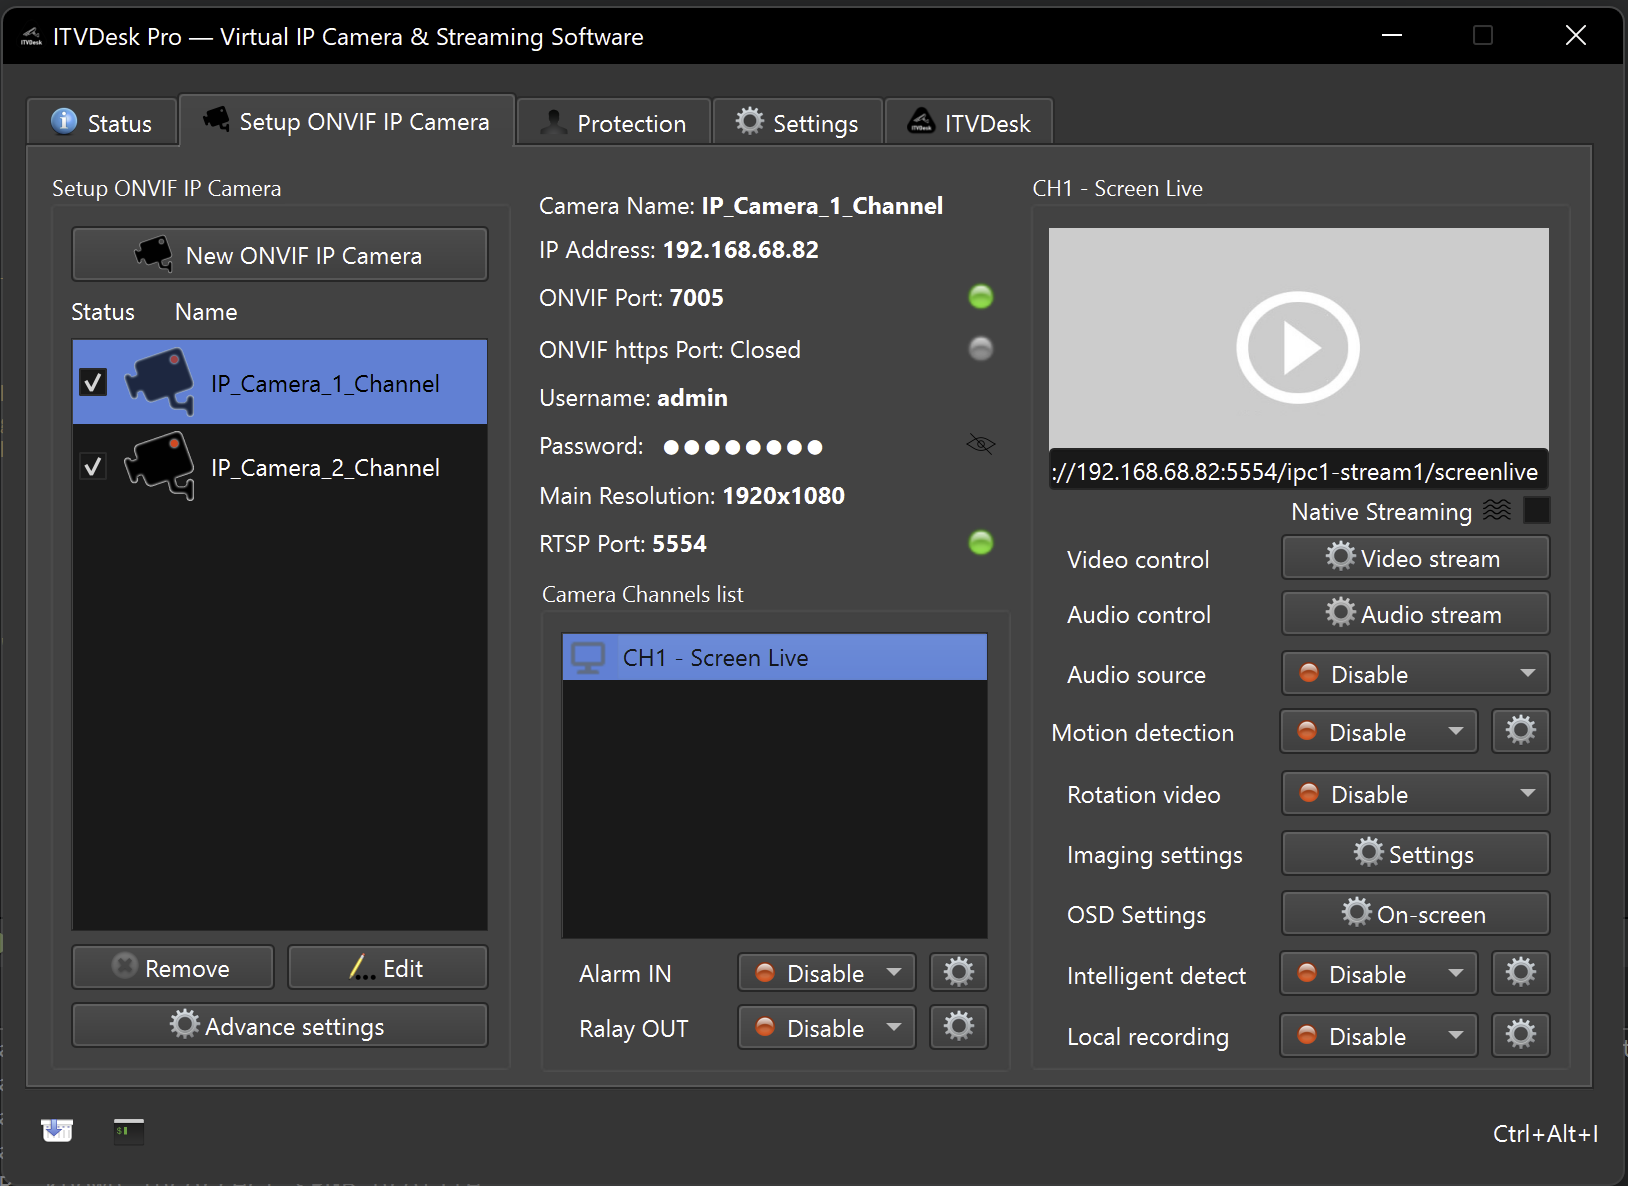
A common ITVDesk integration starts with a desktop or workstation screen. In ITVDesk, create a new virtual camera profile, select a media source such as Computer Screen Live / Desktop Capture, test the stream, and then add it to Milestone XProtect as an ONVIF camera or direct RTSP/RTSPS/SRT stream.
This is useful when you need to record operator screens, POS workstations, control-room desktops, applications, dashboards or other computer activity inside the same VMS/NVR system used for physical cameras.
Recommended Milestone setup
- Add ITVDesk through the ONVIF/ONVIF Conformant Device workflow.
- Use the ITVDesk computer IP address and the configured ONVIF port.
- Enter the ONVIF username and password if authentication is enabled.
- Assign the device to the correct recording server and hardware group.
- Create recording, motion or event rules according to the project requirements.
Verify in XProtect
- Open live view in Smart Client.
- Check recording and playback.
- Test alarm input/output only if the XProtect rules and device capabilities are enabled.
- Confirm stream profile resolution, codec and frame rate.
Troubleshooting
- If the device is not detected, check the ITVDesk ONVIF port, IP address, firewall and network segment.
- If live view opens but video does not play, verify RTSP/RTSPS port access and codec support in the VMS/NVR.
- If authentication fails, temporarily verify the configured ONVIF username/password and then re-enable the required security level.
- Recorder menus and wording differ by firmware version, so use the vendor-specific terms as a guide rather than a fixed screen-by-screen rule.
Related documentation: Preview & Test | Alarm Input | Relay Output | Video Stream Settings